EO data pipeline
Transforming raw EO imagery to analysis ready data requires a lot of preparation. At Tesselo we focused a large part of our platform on the pre-processing of EO data.
EO training data has location and date
When modeling with EO data, the goal is usually to create imagery stacks that are aligned with the available training data. The training data is geo-referenced and is created with relation to a specific date. Examples for the source of timestamps for the training data are:
- The date of a field trip where sampling was performed
- The collection date of a satellite image or drone flight that was used as reference to create the training data
- The reference date for training data that was provided by customers
For feeding the data to models the training polygons need to be rasterized first. The stack of the training data and imagery needs to be converted into numpy arrays (tensors) that have the precise shape that our deep learning models require. The imagery to be collected for training and inference will also have to match the resolution. Usually but not always it is the same as the one for the training data.
Finding the imagery for training
In some cases a model can be trained with the imagery that was used to create the training data in the first place. But that is often not the case, and the the imagery matching the training data imagery needs to be obtained.
Geospatial training data are geometries that are geo-referenced. The geometries can be intersected with the imagery archives to identify scenes based on the reference date.
Internally we maintained a STAC catalog to be able to do these searches fast and at scale. For details, consult our PxSearch repository. We were tracking the archives that contain the scenes in a Cloud Optimized GeoTiff (COG) format for fast and efficient retrieval of the data.
Compositing the relevant images
When requesting the identified images for a given polygon, there might be nodata pixels from the original scenes, if the polygon is placed at a scene boundary. To reliably getting a complete set of pixels, compositing becomes necessary.
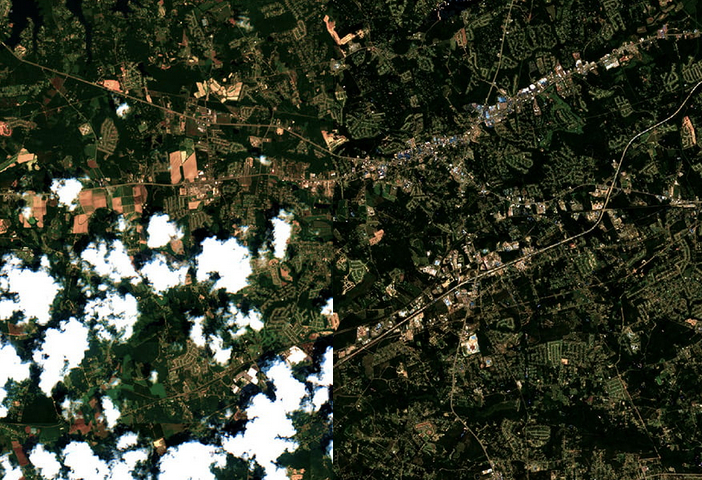
Even when valid pixels are found, they might have clouds in them or strong atmospheric effects. In some cases, it is important to obtain the best possible pixel from a time span. This is where the quality of the pixel plays a role.
In other words, compositing has two purposes
- Removing nodata pixels
- Selecting high quality pixels from a set of images
The exact implementation of our compositing algorithms can be found in the composite method of our pixels repository.
One important question for compositing is the metadata about the scenes that went into the composite. Its not clear how to report them, as metadata in the image file, or as additional json, or not at all if not important.
Use all bands and upsample to highest resolution
By default, we simply used all available bands of the multispectral satellite images as input to the models. For instance, for Sentinel-2 based models we used the 10 bands that have 10m or 20m resolution. Similarly, for Landsat we used all the available bands except the cirrus band.
In our pre-processing pipeline we had to resample all bands into the target resolution. Usually this meant to upsample the lower resolution bands to the resolution of the band with the highest resolution. That is 10m for Sentinel-2 images for instance.
Or using the same approach we would create super-resolution, by upsampling our imagery data to the resolution of the target data. We had successful models that would build 1m resolution images out of 10m resolution data.
Technical implementation
While the detailed implementation can be found in our codebase, here follows a description of the approach in words.
Latest pixel composites
The simplest way to composite imagery is to simply look for the newest pixel in a given time span that is not nodata.
- For a given polygon and time interval, all intersecting scenes are searched
- The scenes are sorted by date
- The pixels from the required bands intersecting with the polygon are retrieved
- If there is any nodata pixel in the result, continue to step 3 until there are no more nodata pixels.
- Return the resulting pixel combination.
This algorithm many times will only collect data from the first image. If it covers the entire polygon the algorithm will not retrieve any more data.
Best pixel composites
A slightly more sophisticated approach is to rank the cloud free pixels by quality and select the best one. In our case this method is what we used the most. It is more expensive than the latest pixel approach, because all scenes have to be collected for the ranking. It does provide much cleaner imagery in cloudy regions with generous time intervals like months or even quarters.
The tie breaker we used was the highest NDVI because we were ususally interested in finding vegetation.
Here a summary of the steps of the best pixel composite
- For a given polygon and time interval, all intersecting scenes are searched
- The pixels from the required bands intersecting with the polygon are retrieved for all candidate scenes
- For each pixel, remove scenes that have clouds or nodata values
- For the remaining scenes, pick the one with the highest NDVI value
- Return the resulting pixel combination.
